The Custom Reports feature allows you to save custom configured reports based on the filters you select.
- Click on the Reports tab in the toolbar and select Custom Reports.

Creating a New Report
- Click the Create Report button.
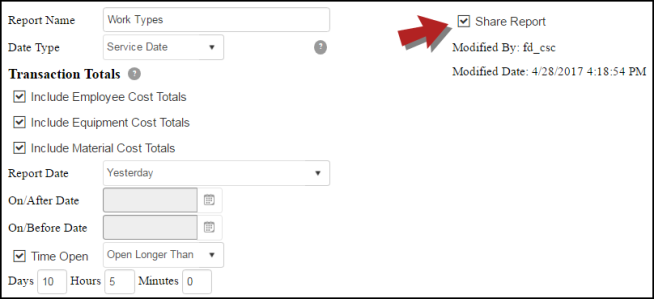
- Enter a title for your report in the Report Name field.
- Check the Share Report box to share this report with other Mobile311 users in your account. If you share a report, it will be marked with a shared icon and will allow other users to access and run the report. *Note: This box should be checked if Standard Users need access to the report. Web Administrators can see all reports, even if the report is not marked as shared.
- Select one of the following Date Type options:
- Created Date - The date that the work item was created.
- Modified Date - The date that the work item was last modified or had a file added to it.
- Service Date - The date that employees, equipment or materials were modified on a work item. If a work item does not have any employees, equipment or materials then the work item will not display in this report.
- Finalized Date - The date that a work item was last changed to a final status. *Note: If a work item is re-opened and then changed back to a final status, the report will always show the most recent final status date.
- Check the boxes under Transaction Totals if you want your report to include one or more of the transaction types listed. *Note: Transaction Totals are determined by the service dates of the transaction items, not the work item collected or modified date.
- Choose a Report Date from the drop-down. The selections you make from Date Type and Report Date affect how the system pulls your data. For example, if you select Created Date for the Date Type and Fiscal Year for the Report Date, then the system will look for all work items created during this Fiscal Year.
- If you wish to enter a custom date, select Custom Date Range from the Report Date drop-down and then enter your dates in the On/Before Date and On/After Date fields. For example, if you wanted your report to pull data between the dates of 1/1/2016 and 7/1/2016, enter 7/1/2016 in the On/Before Date field and 1/1/2016 in the On/After Date field.
- If you want your report to pull work items that have been open for a specific amount of time, check the box next to Time Open. You can then select an option from the drop-down and enter a length of time in the text fields. For example, if you want the report to pull work items that have been open longer than 10 days, 5 hours, and 0 minutes, enter this information in the appropriate fields.
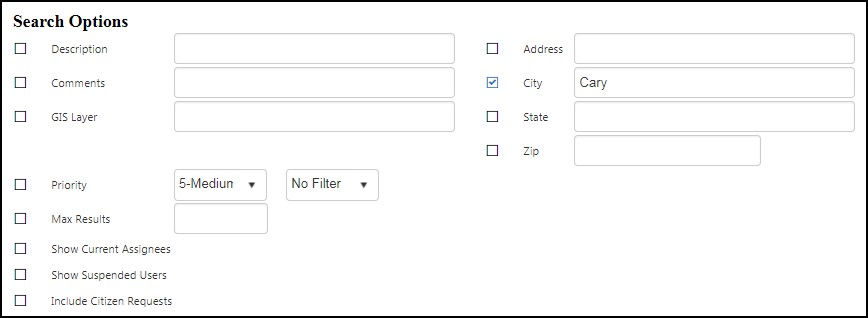
Search Options
- You can pull data for this report by any of the fields listed under Search Options. Check the box next to the appropriate fields you want to include and fill out the text field beside it. For example, if you want your report to pull information for a specific city, check the box next to City and enter the name of the city in the text field.
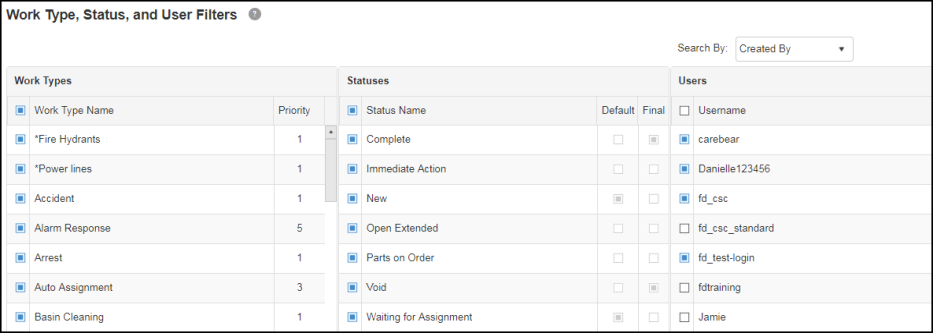
Work Type, Status, and User Filters
-
Select the Work Types, Statuses, and Users to filter your report by. You must make at least one selection in each field.
- For selections made in the Users filter, you can use the Search By drop down to determine whether the user(s) selected created the work item or modified the them.
Fields to Display
-
Select the Report Fields you want to include in your report by checking the box next to them.
- You can change the order of the report results by clicking and dragging a Field Name to a different place in the list. Multiple fields can be selected at once and moved within the list.
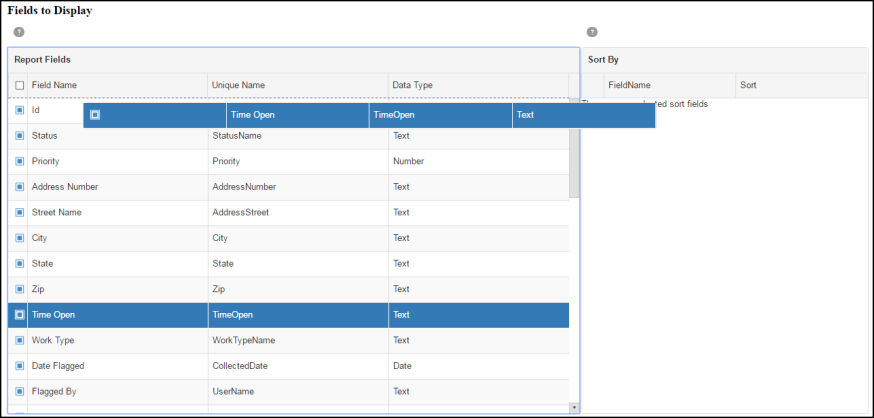
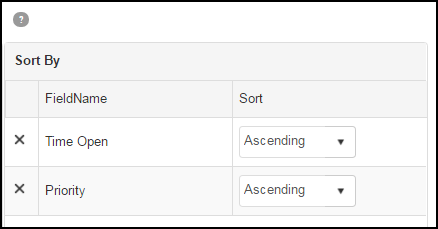
- You can also choose Report Fields to sort by. Click on a field from the Report Fields grid and drag it to the Sort By section. *Note: We recommend selecting no more than two fields to sort by.
- When you are finished setting up your custom report, be sure to click the Save button at the bottom of the page.
Group Field and Group Footer Display Options
- Select a field you would like to group your report by in the Group Field drop down. For example, to group your report results by Time Open, select Time Open from the drop down list.
- Decide whether the group fields will be sorted in Ascending or Descending order by selecting an option from the Grouping Sort drop down.
- You can then select the options under Group Footer Display Options that will show after each grouping to give you a summary of your results. Numeric fields will display totals and text fields will display a count.


Footer Display Options
-
Select the options that will display at the bottom of the report giving you a summary of your results. Numeric fields will display totals and text fields will display a count.


Editing a Report
- To edit an existing report, click on the name of the report listed under My Reports.
- Click the Edit Report button.
- Make your changes and click Save at the bottom of the page.
Deleting a Report
- To delete a report, click on the name of the report listed under My Reports.
- Click the Delete Report button. A pop-up window will appear to confirm that you want to remove the report.
Running a Report
- To run a report, click on the name of the report listed under My Reports.
- Click the Run Report button. A new tab will open with your report displayed.
